

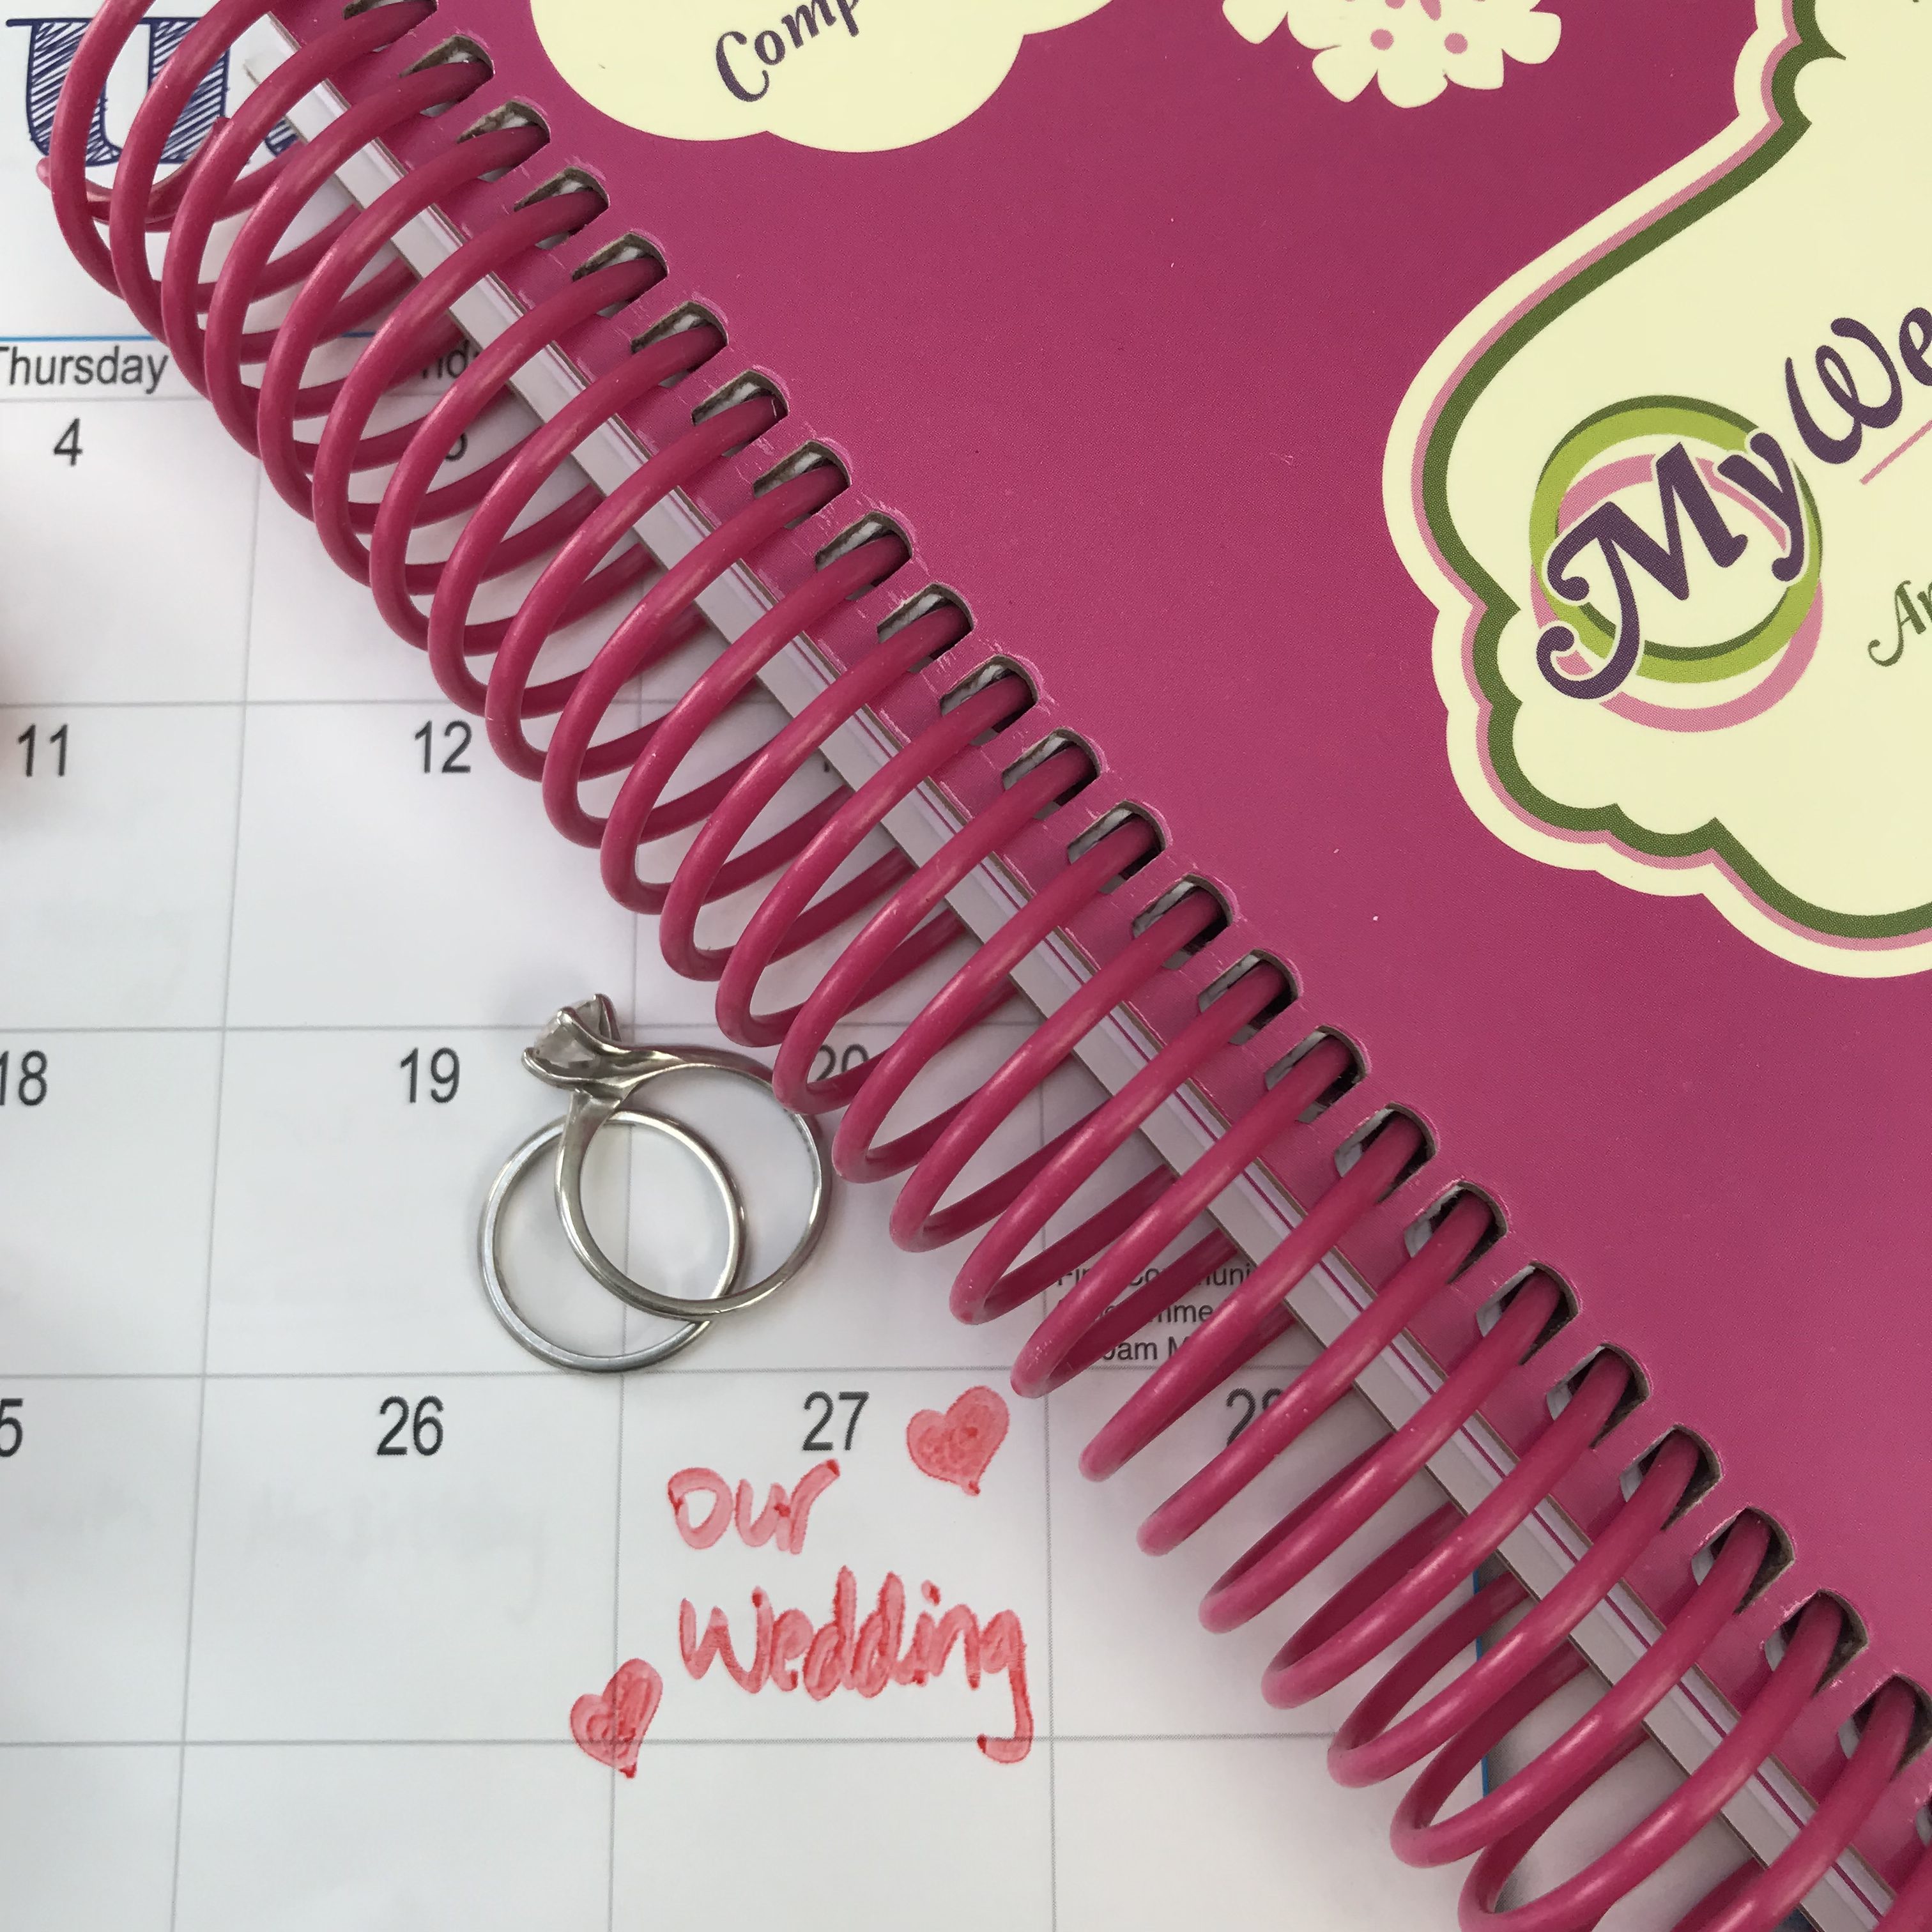
Isn’t it so lovely when you get engaged and people congratulate with well wishes?
Well, what are you going to do with your engagement cards?
I have been wanting to do something with mine for an age as they are just in a box under our bed!
As you probably know I love all things stationary, especially cards so I have been looking into lots of nice ways to showcase them. I decided to go with a a DIY Engagement Card Keepsake Book and I took lots of photos to show you how I did this!
Materials You Need
- Engagement cards 😉
- Two pieces of cardboard (make sure they are bigger than your biggest card)
- Some nice embellishments or stickers to decorate
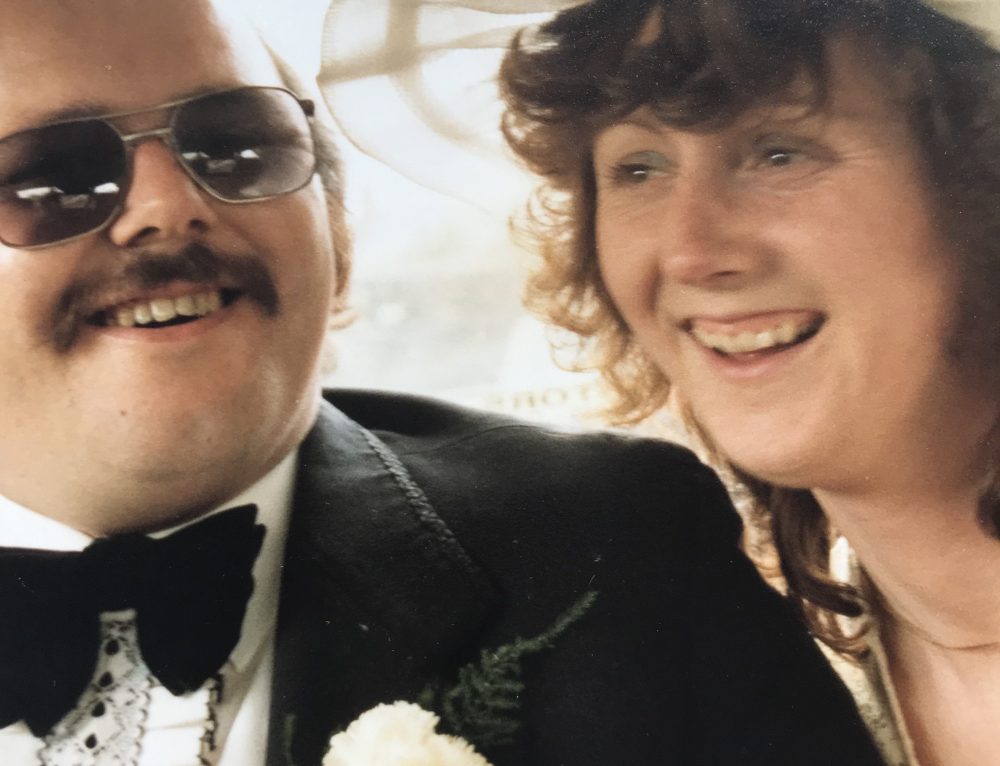
- Your favourite engagement photo
- Prit Stick
- Ring puncher
- Book rings x2
- Ruler
Step 1
Arrange your cards in order as they will all be in different sizes! Although some of you might like to mix them all up so you don’t have obvious gaps in your book.
However, as I didn’t have any big gaps I kept it in order (and I do I like the sequence in the book going from small to big cards).

Step 2
Punch two holes in each card at the crease so you are still able to open and read the messages when they are in the booklet.
You will also need to punch two holes in your cardboard covers too helping to protect the cards. It might be best to measure these holes out first to make sure it is perfect.


Step 3
I have to say I found it extremely hard to find individual book rings (never mind nice ones!). I ended up buying them on Etsy as they had lots of choice and the delivery was fast enough!
You can then pop all the cards onto the book rings.

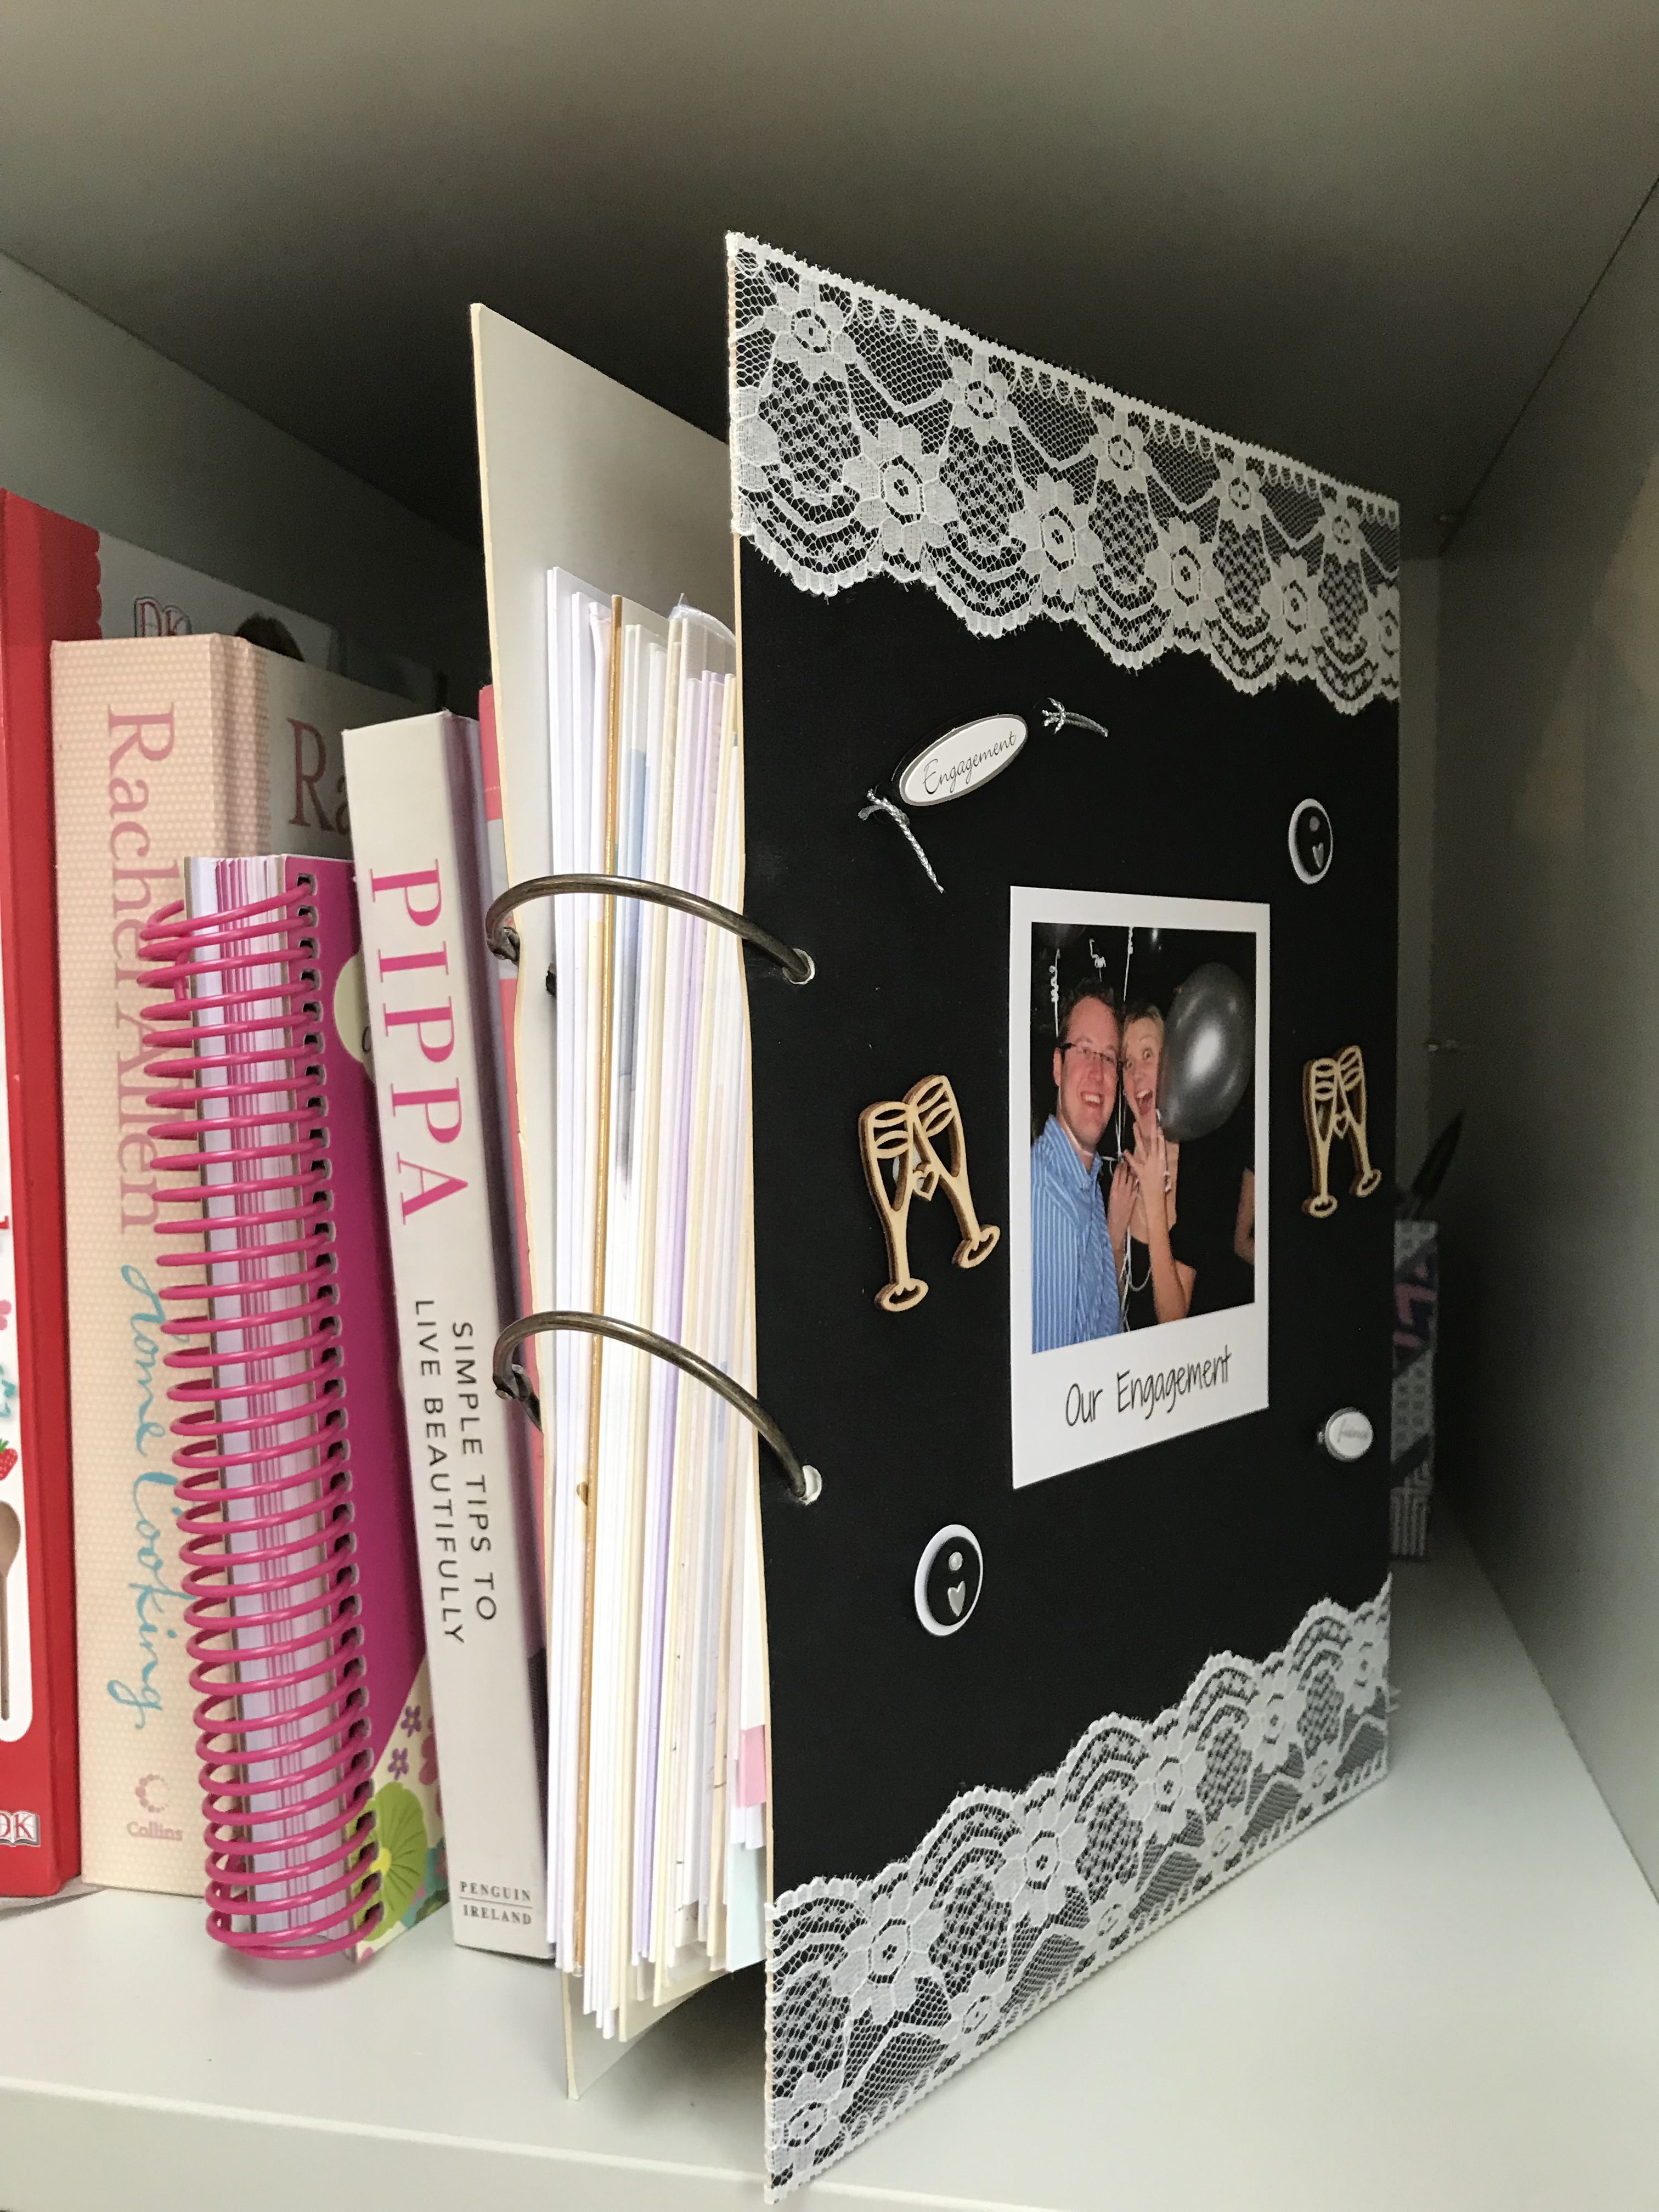
Step 4
Now the fun part … to decorate the cover! I printed off a photo of us celebrating our engagement and used lots of embellishments to decorate the cover.

Keep it in a safe place than you can easily look at all the lovely messages in them! It’s a lovely idea to do this on the anniversaries of your engagement and enjoy the memories.
I have to say I am just thrilled that I finally have the cards in a beautiful keepsake.
What is so great about this idea is that you can do it for all types of occasions! I am now going to do it for our wedding cards and our kids birthday cards!


Leave A Comment